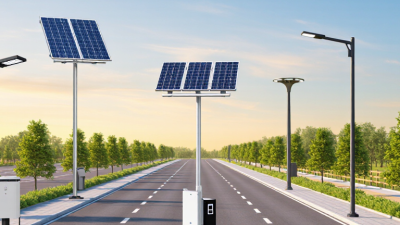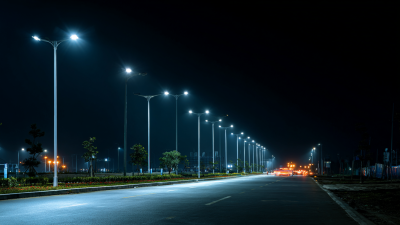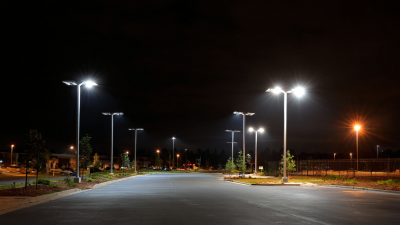
Choosing the Best Solar Street Lamp for 2026 means matching equipment to the street, climate, and maintenance plan. One model rarely suits every site. A quiet rural road needs different coverage from a busy urban junction.
Lighting and energy pioneer Thomas Edison captured solar power’s promise. He said, “I’d put my money on the sun and solar energy. What a source of power!” For buyers today, promise alone is not enough. Compare usable light output, beam distribution, battery capacity, panel size, and expected autonomy. Check how the system handles several cloudy nights, not just a clear afternoon.
Look closely at the details. Does the lamp illuminate the pavement evenly, or leave dark gaps near the curb? Can the battery and controller be replaced without changing the entire unit? Review ingress and impact ratings, warranty terms, and service access. Ask suppliers for test reports and clear explanations of operating assumptions. Claims deserve questions.
A bright specification sheet can still disappoint in the field. This guide compares Solar Street Lamp options for global buyers, while recognizing that local weather, road layout, and installation quality change results. Some recommendations may remain imperfect; real sites are messy. That is worth admitting. The goal is a dependable shortlist, not a universal winner.
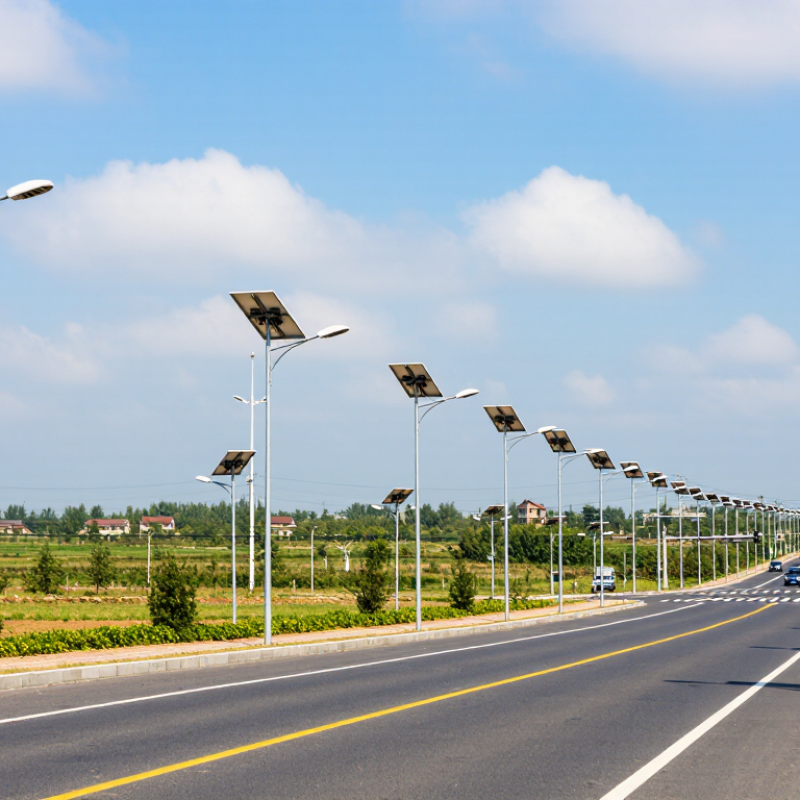
In 2026, a solar street lamp is more than an LED fixture paired with a panel. It combines photovoltaic modules, a rechargeable battery, lighting optics, and controls sized for a specific site. The key test is dependable light after cloudy days, not peak output on a clear afternoon. That matters. Buyers should compare usable battery capacity and stated autonomy against local night length and seasonal sunlight.
Good systems use efficient LEDs and optics that direct light onto roads and paths, not nearby windows. Adaptive dimming can reduce energy use when streets are quiet, while motion sensing should be tested for a smooth, predictable response. Check ingress protection, corrosion resistance, and temperature data; coastal and cold inland sites stress hardware differently. Remote monitoring is useful only when readings are accurate and service teams can act on alerts. Paper specs can mislead.
Evaluate mounting height, pole spacing, road width, and light distribution against a photometric plan. Ask for test data, warranty terms, replacement-battery availability, and a clear method for calculating expected runtime. I would still question optimistic autonomy claims; shade, dust, and battery aging are easy to underestimate. No two sites behave exactly alike.
A well-sized solar street lamp matches its solar panel to the LED’s daily energy use and local sunlight. This chart shows the estimated PV capacity needed to replace one night’s energy use under the stated assumptions.
Example sizing assumptions: 12 operating hours per night, 5 peak-sun hours per day, and a 75% overall system derating factor. Estimated PV capacity = LED power × 12 hours ÷ (5 sun hours × 0.75). Actual sizing depends on location, weather, dimming schedules, and system design; this is an illustrative calculation, not a universal specification.
A solar street lamp turns daylight into electricity through photovoltaic cells in its panel. When sunlight reaches the cells, they produce direct current. A charge controller regulates that current before it enters the battery, helping prevent overcharging and excessive discharge. The energy is saved for nighttime use. Simple in principle.
After sunset, a light sensor or programmed controller signals the lamp to switch on. The battery then supplies power to the LED through a driver that manages the current. Some systems reduce brightness during quiet hours and increase it when movement is detected. This can stretch stored energy through longer nights, though the result depends on the settings and local conditions.
Choosing a lamp means looking beyond the battery’s advertised capacity. Check the panel’s output, battery capacity, LED wattage, and expected hours of operation together. For example, a shaded panel or a dusty surface may collect less energy than its rating suggests. Several cloudy days matter, too. Battery performance can also change with temperature and age. A careful installation plan should account for seasonal sunlight, panel angle, and nearby trees. In real conditions, estimates are imperfect; monitoring performance after installation helps reveal what needs adjustment.
A solar street lamp works as a connected system, not just a bright LED head. The photovoltaic panel must match local sunlight and seasonal conditions. In cloudy regions, a panel sized only for clear summer days may leave the battery short by morning. Battery chemistry, capacity, and temperature protection also matter. Cold nights and repeated deep discharge can reduce useful service life. Small details matter.
The charge controller manages energy flow and protects the battery from overcharging or excessive discharge. Look for clear operating specifications, including dimming schedules and low-voltage behavior. A lamp that dims gradually may preserve essential lighting better than one that suddenly switches off. Still, advertised autonomy is not a guarantee; shading, dust, and several rainy days can change results. Test assumptions against site conditions.
Optics shape how light reaches the road. Check the beam distribution, pole height, and spacing together, rather than judging brightness from a single lumen figure. A narrow beam may create bright patches and dark gaps. The enclosure should resist water ingress, corrosion, and heat buildup, with secure cable entries and accessible service parts. Even a well-built unit can underperform if its foundation shifts or its panel faces a tree. Ask suppliers for component data, test methods, and realistic maintenance intervals, then verify a sample installation before scaling up.
Comparing solar street lamps starts with the road, not the catalogue. Measure road width, pole height, spacing, and nightly operating hours. Then check maintained light output in lumens and the beam pattern; a high lumen figure alone may leave dark gaps. IRENA’s Renewable Capacity Statistics 2025 reports that global solar capacity reached about 1,865 GW in 2024, with roughly 452 GW added that year. This growth makes solar options more visible, but it does not prove a lamp suits a specific site. This comparison is not perfectly tidy: manufacturers may test performance under different conditions.
Tips: Ask for the lighting distribution file, battery usable capacity, panel wattage, and autonomy during cloudy weather. Compare like with like. Check IP and impact ratings, operating-temperature range, warranty terms, and replacement-part availability. For a coastal or dusty site, confirm the stated protection suits actual exposure.
Request a sample calculation using local sunlight data and the project’s required operating schedule. Check whether dimming is included in the runtime estimate, and ask how performance changes after several cloudy nights. A compact datasheet can hide important assumptions. For example, “12 hours” may describe reduced output, not full brightness. Review independent test documents where available, and record the exact configuration quoted; panel, battery, and controller details can vary between model options.
A reliable solar street lamp starts with the site, not the product sheet. Check the pole location at different times of day. Nearby trees, rooflines, and signs can cast shade across the panel. Even partial shading may reduce charging. Match the panel and battery capacity to the lamp’s nightly operating hours and local sunlight, including shorter winter days. Small details matter.
Climate changes the installation plan. In hot regions, batteries need protection from prolonged heat, which can shorten their service life. In cold areas, confirm the system can charge and operate at expected temperatures. Coastal air can corrode exposed fittings, while dust and heavy rain call for secure seals and sensible drainage. A sturdy pole and foundation also help the lamp withstand local wind conditions. Local weather data is more useful than a broad regional average.
Maintenance should be realistic for the people responsible for the site. Leave safe access to the panel, battery compartment, and mounting hardware. Keep access easy. A simple schedule can include wiping dust from the panel, checking for loose fasteners, and looking for water or cable damage. Set service intervals around local dust, rainfall, and vegetation growth. One detail is often missed: cleaning is difficult when panels sit too high or face awkwardly. A lamp that is easy to inspect may stay dependable longer.
| Decision Dimension | Practical Planning Data | What to Check Before Purchase | Installation or Maintenance Guidance |
|---|---|---|---|
| Solar resource and system sizing | Solar output depends on location, season, panel orientation, shading, and local weather. Design using site-specific solar irradiation data rather than annual sunshine hours alone. | Ask for the design assumptions: worst-month solar resource, daily lighting schedule, LED load, battery capacity, and expected days of autonomy. | Keep panels clear of buildings, trees, and other obstructions. Confirm that the system is sized for the least-sunny operating period, not just average conditions. |
| Panel orientation and tilt | For a fixed, year-round system, panel tilt near the site's latitude is a common starting estimate; the optimum angle can differ with seasonal demand and local conditions. | Confirm the recommended orientation for the installation hemisphere and whether the support allows adjustment. | Face panels toward the equator where practical: generally south in the Northern Hemisphere and north in the Southern Hemisphere. Follow a site-specific design where available. |
| Battery autonomy | Autonomy is the number of nights a system can operate without adequate solar charging. The required number depends on local weather risk, criticality, and operating hours. | Check usable battery energy, not only nominal capacity. Request the battery's assumed depth of discharge, temperature limits, and end-of-life capacity allowance. | For cloudy or remote sites, assess whether additional autonomy is worth the higher upfront cost. Verify that the controller prevents damaging over-discharge. |
| Battery chemistry and temperature | Lithium iron phosphate (LiFePO₄) is commonly used in solar lighting because of its cycle life and thermal stability. Its charging limits are temperature-dependent. | Request the manufacturer's permitted charge and discharge temperature ranges and whether low-temperature charging protection or battery heating is included. | In freezing climates, use a system designed to prevent charging outside the battery's permitted range. In hot climates, avoid enclosed locations that trap heat. |
| Heat, cold, and weather exposure | High ambient temperatures can shorten battery life; cold can reduce available battery capacity. Dust, humidity, salt spray, and severe storms also affect component selection. | Compare the stated operating-temperature range for the complete luminaire, battery, controller, and panel—not just the LED module. | For coastal or dusty locations, check corrosion-resistant materials, sealed cable entries, and a cleaning plan suited to local conditions. |
| Ingress and impact protection | IP66 indicates dust-tight protection and protection against powerful water jets under standardized test conditions. It does not guarantee protection against every installation or immersion condition. | Check the IP rating for the assembled product and vulnerable parts, including connectors and battery compartments. Consider an impact rating where vandalism is a concern. | Keep seals and cable glands correctly fitted. Inspect for cracks, loose covers, and water ingress during routine maintenance. |
| Pole, foundation, and wind loading | Required pole strength and foundation dimensions depend on pole height, luminaire and panel area, soil conditions, and the site's design wind speed. | Request structural calculations for the complete assembly and confirm they use applicable local building and wind-load requirements. | Do not select a foundation from a generic rule of thumb. Have the foundation and anchoring checked for the actual soil and local wind conditions. |
| Pole height and spacing | Mounting height and pole spacing are design outputs, not universal fixed values. They depend on road width, light distribution, required lighting class, and pole arrangement. | Request a photometric layout using the proposed mounting height, spacing, road geometry, and luminaire light-distribution file. | For public roads, determine lighting requirements under the applicable local rules or project specification. EN 13201 is one recognized road-lighting standards series used in many markets. |
| Light output and control | LED efficacy varies by product and operating conditions. Compare delivered luminaire output and photometric performance rather than relying on LED-chip wattage alone. | Ask for verified lumen output, light-distribution data, dimming schedule, motion-sensor behavior, and the expected operating hours after dimming. | Use a lighting design to check uniformity, glare, and light spill. Confirm that energy-saving modes still meet project requirements during required hours. |
| Maintenance and service life | Solar street lights generally need periodic inspection and cleaning; the interval depends on dust, bird activity, vegetation, storms, and local maintenance access. | Check warranty terms, battery replacement procedure, spare-part availability, and whether the battery and controller can be serviced separately. | Plan regular visual checks for panel soiling, shading, loose fixings, damaged cables, and abnormal lighting. Clean panels when soiling is visibly reducing output or local conditions warrant it. |
| Commissioning and monitoring | Performance should be checked after installation under the actual configuration, including charging, dusk-to-dawn operation, dimming, and sensor settings. | Confirm that the supplier provides commissioning instructions, a wiring diagram, controller settings, and accessible fault indicators or monitoring where needed. | Record initial settings and test results. Recheck operation after the first charging cycle and after major storms or maintenance work. |
| Procurement and compliance | Applicable electrical, road-lighting, battery transport, and structural requirements vary by destination market and project type. | Identify required test reports, declarations, certifications, and local approvals before ordering; verify documents against the exact supplied model. | Include installation, commissioning, spare parts, and end-of-life battery handling in the project plan and total cost assessment. |
Planning note: These are general selection guidelines, not a substitute for a site survey, photometric design, structural assessment, or local code review. Final specifications should be based on project location and operating requirements.