How to Choose the Right Types of Finish Nails for Your Project?
Choosing the right types of finish nails is crucial for your woodworking project. According to John Smith, a renowned carpenter and finish nail expert, "The right nail can make or break your project." With various types available, understanding their differences is key.
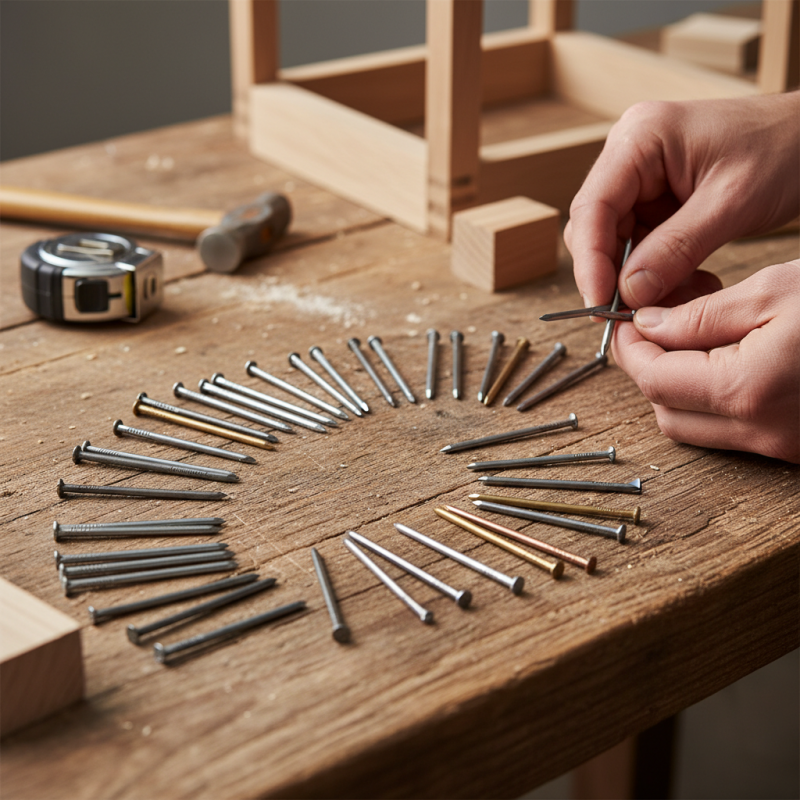
Finish nails come in different lengths, gauges, and materials. Each type serves specific purposes. For instance, wider nails offer better holding power, while smaller ones minimize surface damage. Selecting the wrong type can lead to weak joints or visible nail heads.
Many people underestimate the importance of finish nails. This oversight can lead to frustration during the finishing stage. It’s essential to consider the project's requirements. Reflecting on nail selection can enhance overall craftsmanship and durability.
Understand the Purpose of Finish Nails in Your Project
Finish nails play a crucial role in woodworking projects. They provide a clean, professional look while securing trim and moldings. The right finish nails enhance durability and stability. Choosing finish nails isn't simply about aesthetics; it’s about ensuring that every piece fits perfectly and lasts long.
Understanding the purpose of finish nails is vital. They are thinner and shorter than regular nails, causing less wood splitting. This feature is especially important when working with delicate materials. Additionally, finish nails can be easily concealed with wood putty, which maintains the project's elegant appearance. However, selecting the wrong size or type may lead to weak joints or visible holes that detract from your work.
Picking the perfect finish nail requires an assessment of your project needs. Different materials demand different nail types. Reflecting on your experience helps ensure you make informed choices. Often, the nuances between types of nails can be overlooked, leading to regrettable mistakes. A thorough approach with attention to detail can save time and effort down the road.
How to Choose the Right Types of Finish Nails for Your Project?
| Finish Nail Type | Material | Common Use | Length Range (inches) | Head Type |
| Brass Finish Nails | Brass | Decorative trim, cabinetry | 1 to 2.5 | Finishing head |
| Stainless Steel Finish Nails | Stainless Steel | Exterior applications, wet areas | 1 to 2.5 | Small head |
| Galvanized Finish Nails | Galvanized Steel | Outdoor projects, roofing | 1 to 3 | Flat head |
| Bright Finish Nails | Steel | Interior trim, moldings | 1 to 2.5 | Countersunk head |
Explore Different Types of Finish Nails Available in the Market
Choosing the right finish nailscan make a big difference in your woodworking projects. Various types of finish nails are available in the market. They have different sizes, materials, and purposes. Understanding these options can help to enhance the overall quality of your work.
Common types include brad nails, typically thinner and ideal for delicate projects. Finish nails, on the other hand, are thicker and provide greater holding power. They are perfect for trim and molding. The choice between these depends on the materials used and the structural requirements of your project.
For instance, using a brad nail on heavy moldings may not offer enough support, which could lead to issues later.
When selecting nails, consider the gauge and length. Choosing a nail that is too short may result in weak joints. Alternatively, using a nail that’s too long can damage the material. Be mindful of these details to avoid mistakes. Each project might reveal unexpected challenges. Testing a few options before committing to a large batch can save time and resources.
Evaluate the Material Compatibility for Your Finish Nails
When selecting finish nails, consider the material compatibility first. Different materials require specific nail types for optimal results. For instance, softwoods like pine may use galvanized finish nails, while hardwoods need stainless steel to prevent corrosion. The wrong choice can result in issues such as splitting and moisture damage.
According to the National Wood Flooring Association, nails also affect the longevity of your project. A finish nail designed for exterior use will last longer in damp conditions. Compatibility between the finish nail and your chosen material is crucial.
Tip: Always match your finish nails with the material’s density. For denser woods, opt for longer nails to ensure a secure hold.
Also, consider the project’s finish coating. If your project will be painted, using bright finish nails can minimize visibility. But for natural finishes, dull or hidden nails may be a better choice.
Tip: Test the finish nail on a scrap piece of the same material before final application. This can help you avoid issues with color or texture mismatches.
Understanding these material compatibility principles can significantly enhance the quality of your project.
Choosing the Right Finish Nails for Your Project
Consider the Appropriate Size and Length for Your Needs
When selecting finish nails for your project, size and length are crucial. It’s easy to overlook these factors, but they can impact your results significantly. Choose a nail that suits the thickness of your materials. For example, if you’re attaching trim to drywall, a shorter nail often suffices. On the other hand, thicker materials need longer nails for secure fastening.
Consider the material of the surface you’re working with, too. Softwoods can use lighter nails, while hardwoods may require tougher options. Think about how deep the nail will penetrate. This affects stability. A nail that’s too short might not hold well, while an excessively long nail can split the wood. If you’ve had issues before, reflect on whether you selected the right size.
Sometimes, trial and error guides you the best. You may find that using a slightly larger nail works wonders in tough projects. But, be prepared for a learning curve. Not every choice leads to perfection, and that’s okay. The key is to ensure the nails are appropriate for your specific application. This awareness can lead to improvements in your craftsmanship over time.
Assess the Application Techniques for Using Finish Nails Effectively
When working with finish nails, choosing the right application technique can make all the difference. Start by ensuring your workspace is clean and well-lit. This helps you see the details better and prevents any mistakes. For delicate tasks, use a nail setter. It allows for precise placement and minimizes the risk of damaging the surface.
Using a pneumatic nail gun can speed up the process significantly. However, it requires practice to handle effectively. Keep the angle steady and adjust the pressure as needed. This can prevent split wood and ensure a clean finish. Some beginners may struggle with consistency; it often takes time and patience to master the technique.
Consider the type of material you are working with. Different woods react differently to nails. Softwoods might split easier, while hardwoods may require a smaller diameter nail. Testing on a scrap piece can help you understand how your chosen finish nails will behave. Pay attention to your technique. Small adjustments can lead to noticeable improvements in your work quality. Reflecting on past projects can guide your choices and enhance your skills over time.